Wall decals are a popular way to add personality to your space, but removing them can be tricky. If not done carefully, you could end up damaging the paint underneath or leaving behind sticky residue. This guide will walk you through the best methods for removing wall decals, from heat and water-based techniques to oil and chemical removers. By following these steps, you can refresh your walls without stress or damage.
1. Preparation Steps
Before you start removing wall decals, gather the right tools. You’ll need a hairdryer, warm soapy water, an adhesive remover (like WD-40 or baby oil), and a soft cloth. First, clean the decal surface with a damp cloth to remove dust and dirt—this helps the adhesive loosen more easily. If the decal has been on the wall for a long time, test a small corner first to check how firmly it’s attached. Proper preparation will make the removal process smoother and help prevent damage to the paint underneath.
2. Heat-Based Removal Method
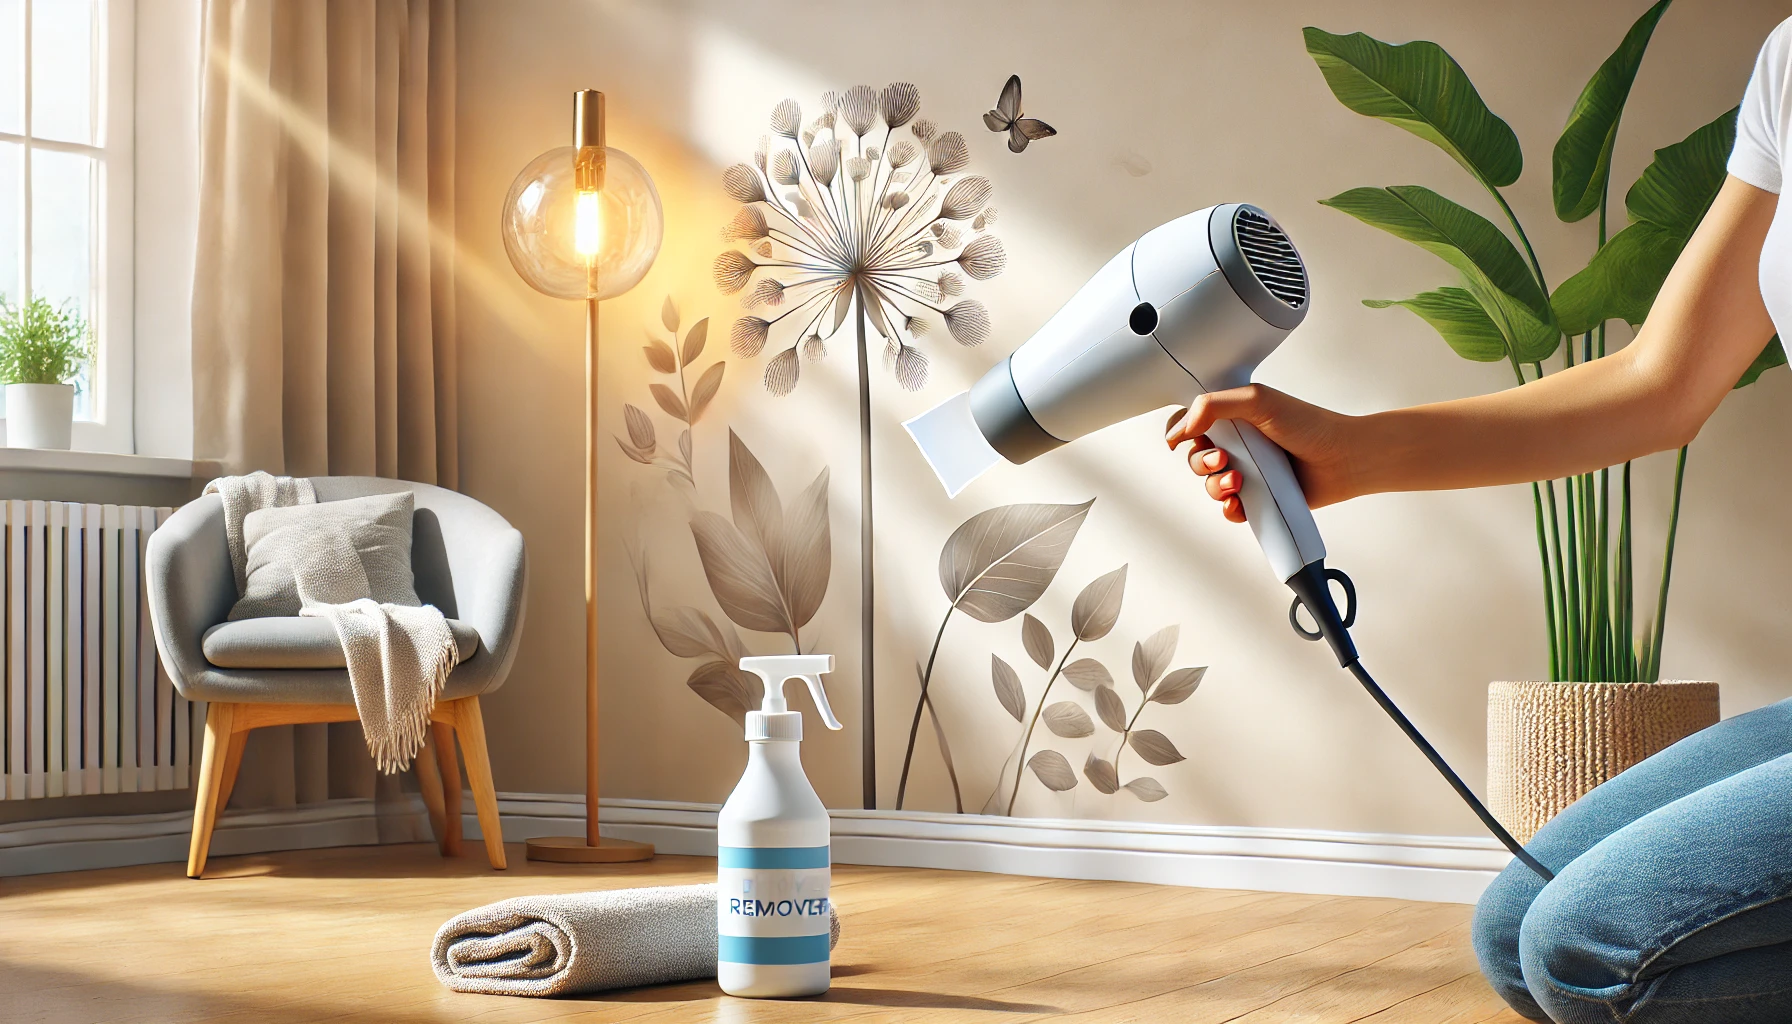
Using a hairdryer is one of the easiest and most effective ways to remove wall decals. Set the hairdryer to a low or medium heat setting and hold it about six inches from the decal. Slowly move it across the surface to soften the adhesive. After 30–60 seconds, gently lift one corner of the decal with your fingernail or a plastic scraper. If it resists, apply more heat until the adhesive loosens. Take your time to avoid tearing the decal or damaging the paint. Heating helps release the adhesive without leaving residue.
3. Water-Based Removal Method
Warm soapy water is a gentle and effective way to remove wall decals. Fill a spray bottle with warm water and add a few drops of dish soap. Lightly spray the decal, letting it soak for about five minutes to loosen the adhesive. Start peeling from one corner, applying more soapy water if it sticks. For stubborn spots, use a soft cloth or sponge to gently rub the adhesive away. This method works well on most painted and smooth surfaces, reducing the risk of damage or leftover residue.
4. Oil-Based Removal Method
Oil-based removers like baby oil, coconut oil, or olive oil can help break down adhesive residue. Apply a small amount of oil to a soft cloth and gently rub it over the decal. Let it sit for about five minutes to soften the adhesive. Slowly peel the decal from one corner—if it sticks, apply more oil and let it sit longer. Use a clean cloth to wipe away any leftover residue. This method is gentle on walls and works especially well on vinyl and textured surfaces.
5. Chemical-Based Removal Method
For stubborn decals, a commercial adhesive remover like Goo Gone or WD-40 can work wonders. Spray a small amount onto the decal and let it sit for a minute or two. Gently lift the decal from one corner using a plastic scraper or your fingernail. If it resists, apply more remover and wait longer. Be sure to follow the product instructions and test on a small area first to avoid discoloration. After removal, clean the area with warm soapy water to remove any remaining residue.
6. Removing Residue After Decal Removal
Once the decal is off, you may notice sticky residue left behind. To remove it, try rubbing the area with warm soapy water and a soft cloth. If the residue persists, apply a small amount of oil-based adhesive remover or rubbing alcohol. Let it sit for a minute, then wipe it away with a clean cloth. For stubborn spots, use a plastic scraper gently to avoid scratching the paint. Finish by cleaning the area with soapy water to remove any leftover oil or cleaner.
7. Fixing Wall Damage
If removing a decal peels off paint or leaves small holes, you can easily fix it. First, sand the damaged area lightly with fine-grit sandpaper. Wipe away dust with a damp cloth. Apply a thin layer of spackle to any holes or uneven spots, then let it dry completely. Sand it again until smooth. Touch up the area with matching paint, using a small brush or roller for even coverage. Allow the paint to dry fully before assessing if a second coat is needed. Taking these steps will leave your wall looking clean and flawless.
8. Preventing Future Issues
To make future decal removal easier, start by applying decals to a clean, dry wall. Avoid textured or freshly painted surfaces, as the adhesive may stick more firmly. When installing decals, use a level to ensure proper alignment and avoid stretching them, which can cause tearing during removal. For repositionable decals, choose high-quality vinyl that peels off cleanly. If you plan to redecorate often, look for decals labeled “removable” or “peel and stick.” Following these tips will make future removal quick and damage-free.
9. Final Cleaning and Inspection
After removing decals and adhesive residue, give the wall a final clean. Use a damp cloth with warm soapy water to wipe down the surface, removing any leftover oil or cleaning products. Check the wall for any signs of damage or uneven texture. If needed, do a light touch-up with matching paint. Let the wall dry completely before applying new decals or decorations. A clean, smooth surface will help future decals adhere better and make your wall look fresh and polished.
Conclusion
Removing wall decals doesn’t have to be difficult if you use the right methods. Whether you choose heat, water, oil, or adhesive remover, taking your time and working carefully will protect your walls from damage. After removal, cleaning the surface and fixing any imperfections will leave your walls looking fresh and ready for new decor. By following these steps, you can easily update your space without stress. With a little patience and the right tools, decal removal becomes a simple and satisfying process.