Wall panels are a fantastic way to upgrade your home’s interior, adding texture, warmth, and even soundproofing. Whether you’re aiming for a sleek modern look or cozy rustic vibes, wall panels are versatile and relatively easy to install. Learning how to install wall panels properly ensures they stay secure and look professionally done. In this guide, we’ll cover the tools you need, preparation steps, installation methods, and troubleshooting tips. By the end, you’ll have the confidence to tackle any wall panelling project and transform your space with a polished finish.
Tools and Materials Needed
Before starting your wall panel installation, gather all the essential tools and materials. You’ll need a drill, screws, anchors, and a level to ensure proper alignment. A measuring tape and a pencil will help with accurate placement. For adhesive-based installation, use a high-quality wall panel adhesive suitable for wood, MDF, or decorative panels. Don’t forget safety gear like gloves and goggles to protect yourself during the process. Having the right tools on hand will make the installation smoother and help avoid common issues like misalignment or weak adhesion.
Choosing the Right Panel Type
Selecting the right panel type depends on your space and design goals. Wood panels offer warmth and a classic look, while MDF panels are cost-effective and easy to paint. For better soundproofing, choose acoustic panels. If you want a bold, stylish touch, go for decorative wall panels. Think about moisture resistance for bathrooms or kitchens and durability for high-traffic areas. Mixing textures or panel types can create a unique, modern feel. Choosing the right material ensures a perfect balance of aesthetics and functionality.
Preparing the Wall Surface
Start by cleaning the wall with a damp cloth to remove dust and dirt. Check for any cracks or holes—fill them with spackle and sand the area smooth once it dries. If the wall is textured, consider applying a thin layer of primer or leveling compound for a flat surface. Use a measuring tape and pencil to mark stud positions and align your panel layout. Make sure the surface is dry before installation. Proper wall preparation ensures a secure fit and prevents issues like uneven panels or poor adhesion.
Selecting the Right Fastening Method
The fastening method depends on your wall type and panel material. For a strong hold, use screws and wall plugs—this works well on drywall and studs. If you prefer a seamless look, opt for adhesive; a high-strength panel adhesive is ideal for MDF and decorative panels. For heavier panels or uneven walls, combining adhesive with screws ensures a secure fit. Hidden fasteners are great for creating a clean, modern finish. Choosing the right method will prevent issues like sagging or warping over time.
Step-by-Step Installation Guide
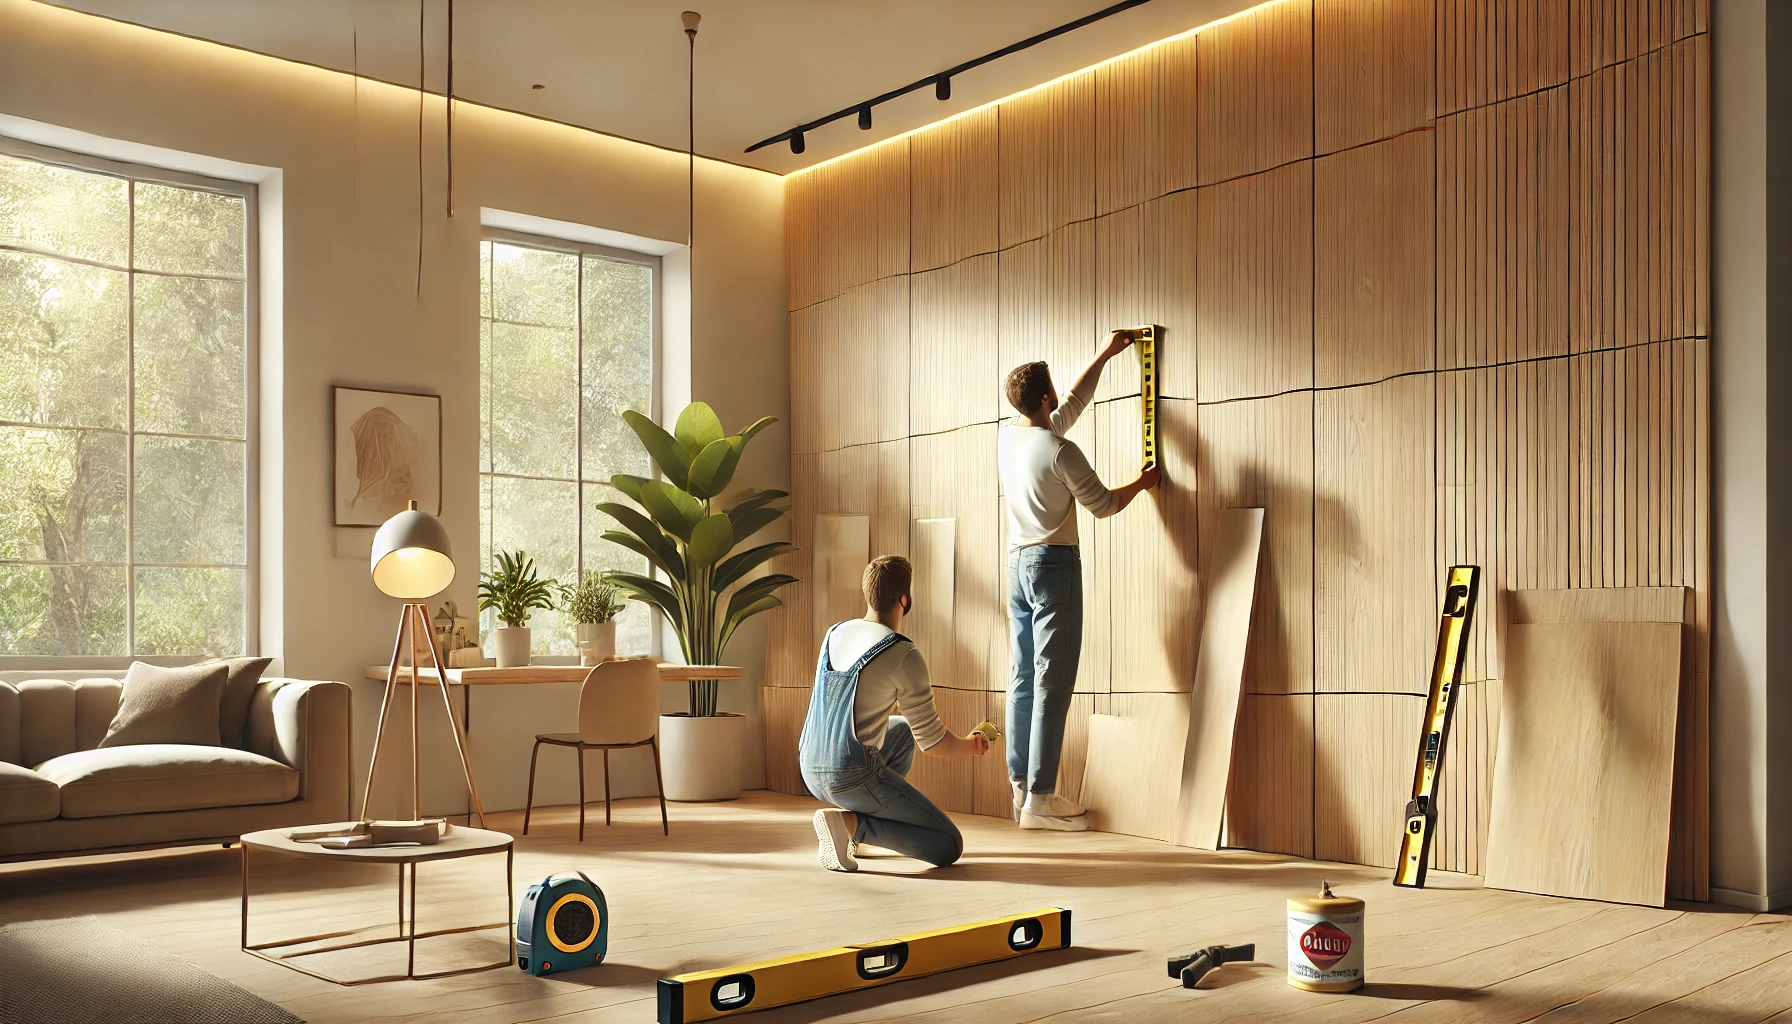
1.Measure and Mark:
Measure and Mark: Measure the wall and mark where each panel will go. Ensure straight lines using a level.
2.Cut Panels if Needed:
Trim panels to size using a saw. Sand edges for a clean finish.
3.Apply Adhesive or Screws:
Spread adhesive on the back or drill screws into studs.
4.Install Panels:
Press panels firmly onto the wall, ensuring proper alignment.
5.Check Alignment:
Use a level to keep the panels straight.
6.Secure and Adjust:
Add extra screws or adhesive if needed. Let adhesive dry fully.
Troubleshooting Common Issues
If the panels feel loose, check if the adhesive has dried properly or add more screws for support. For uneven panels, use a level and adjust alignment before the adhesive sets. If gaps appear between panels, apply a small amount of caulk and smooth it with a damp finger. Warping can happen due to moisture—ensure the panels are acclimated to the room temperature before installation. For adhesive failure, try switching to a stronger bonding agent. Addressing these issues early will ensure a professional, polished finish.
Finishing Touches
Once the panels are securely installed, fill any visible gaps with caulk for a seamless look. If you used screws, cover them with matching filler or touch-up paint. For wooden panels, apply a protective sealant to prevent moisture damage and enhance durability. Wipe down the panels with a clean cloth to remove dust or adhesive residue. If you plan to paint the panels, use a high-quality primer first for even coverage. Adding these final touches will give your wall a polished, professional finish.
Maintenance and Care
To keep your wall panels looking fresh, dust them regularly with a soft cloth. For wood or MDF panels, use a mild cleaner to avoid damage. Avoid harsh chemicals on painted or decorative panels as they can cause discoloration. If a panel becomes loose, reapply adhesive or tighten screws as needed. For minor scratches, touch up with matching paint or filler. In humid areas, use a dehumidifier to prevent warping. Regular maintenance will keep your panels looking new and ensure they last for years.
Conclusion
Installing wall panels is an effective way to transform any room with style and function. By choosing the right materials, preparing the surface, and using the correct fastening method, you can achieve a polished, professional look. Troubleshooting issues early and adding finishing touches ensure the panels stay secure and attractive over time. Regular care and maintenance will keep them looking fresh for years. With the right tools and techniques, you’ll enjoy a beautiful, upgraded space that reflects your personal style.