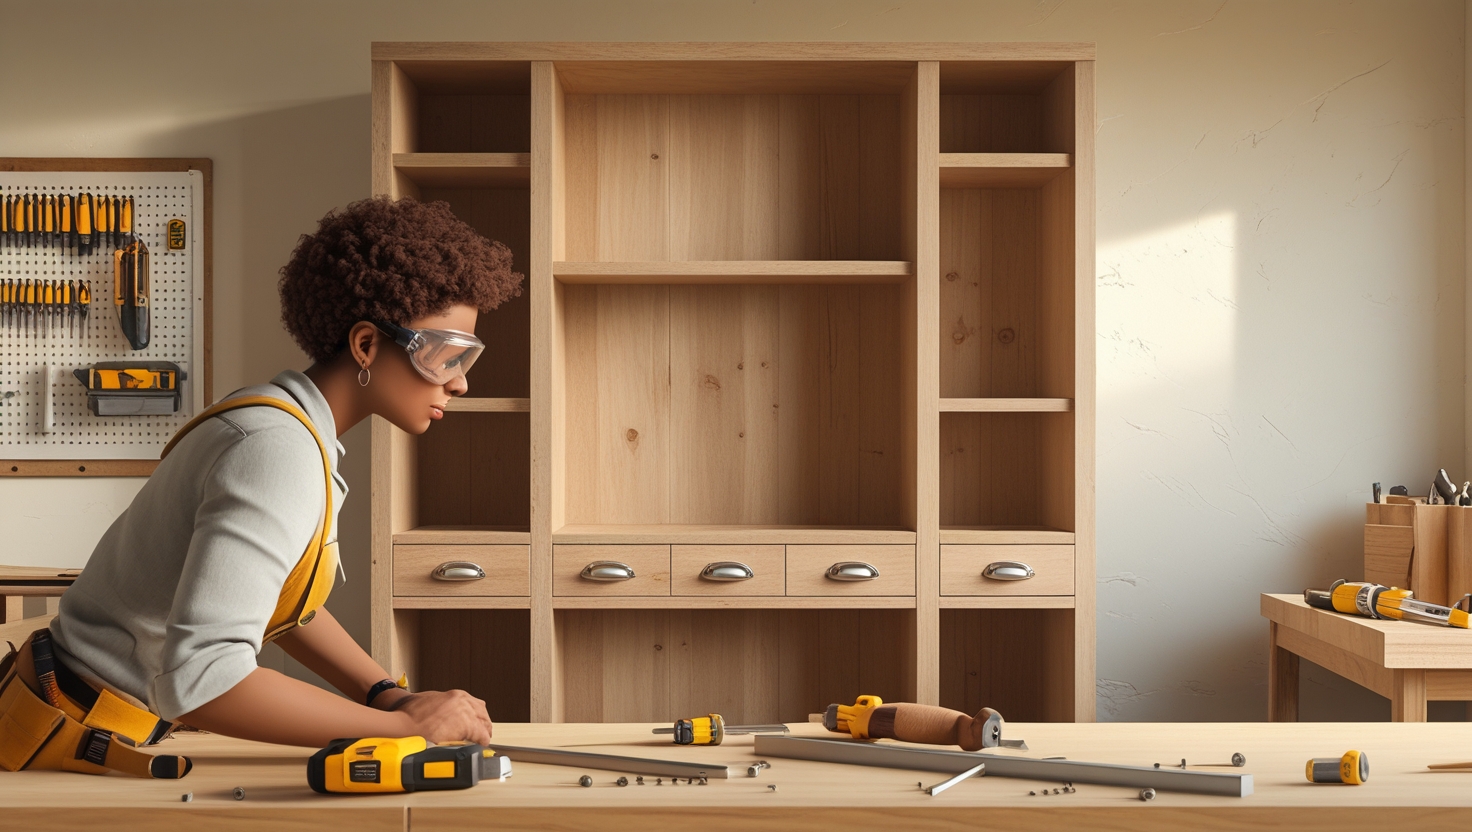
Wall cabinets are a fantastic way to add storage and organization to any room. Whether you need extra space in your kitchen, bathroom, or garage, a well-built wall cabinet can enhance both function and aesthetics. In this guide, we’ll take you through the process of building your own custom wall cabinet, from selecting materials to the final touches.
1. Planning and Designing Your Wall Cabinet
Before you start building, planning is crucial. Determine the cabinet’s purpose, size, and style. Will it be for kitchen storage, a bathroom vanity, or a garage organizer? Measure the space where the cabinet will go and sketch a simple design. Decide on the number of shelves and whether you want doors or an open-shelf design. Use software like SketchUp or basic graph paper to visualize your design. Planning ensures you have the right materials and measurements before you start cutting.
2. Gathering Materials and Tools
Once your design is ready, gather the necessary materials and tools. You’ll need:
- Materials: Plywood or MDF for the cabinet box, hardwood for the face frame, screws, wood glue, hinges, and paint or stain.
- Tools: Circular saw or table saw, drill, clamps, measuring tape, sandpaper, level, and a paintbrush.
Choose quality wood to ensure durability. If you want a sleek, modern look, MDF is a great option, while plywood offers a natural wood finish.
3. Cutting and Preparing the Wood
Using your measurements, cut the plywood or MDF into panels for the back, sides, top, and bottom of the cabinet. If you’re adding shelves, cut those pieces as well. Ensure all cuts are straight for a precise fit. Sand the edges lightly to remove splinters. Double-check your measurements before assembly to avoid misalignment.
4. Assembling the Cabinet Frame
Start by assembling the basic box structure. Apply wood glue to the edges before securing the pieces together with screws. Use clamps to hold everything in place while drilling pilot holes to prevent wood splitting. Check for squareness using a carpenter’s square before fully tightening the screws. If you’re adding a face frame for a more finished look, attach it after assembling the box.
5. Installing the Shelves
Decide whether you want fixed or adjustable shelves. If fixed, mark the shelf positions inside the cabinet and secure them with screws or wooden cleats. For adjustable shelves, drill evenly spaced holes along the side panels and use shelf pins to support the shelves. Adjustable shelves provide flexibility, making the cabinet more versatile.
6. Attaching the Cabinet Doors (Optional)
If your design includes doors, cut them to size and sand the edges smooth. Attach hinges to the doors first, then position them on the cabinet frame. Soft-close hinges add a high-end feel and prevent slamming. Adjust the doors for an even gap around the edges. If you prefer an open-style cabinet, skip this step and move on to finishing touches.
7. Mounting the Cabinet on the Wall
Locate wall studs using a stud finder to ensure a strong and secure installation. Mark the drilling points and pre-drill holes into the wall. Position the cabinet and use screws to secure it into the wall studs. A level is essential to ensure the cabinet is perfectly straight. If mounting a heavier cabinet, use wall anchors for added support.
8. Finishing and Painting the Cabinet
The final step is finishing and painting. Start by sanding the entire surface for a smooth base. Fill any gaps or nail holes with wood filler. Apply a primer to ensure even paint coverage. Once dry, use high-quality paint or stain in thin, even coats. Consider a clear sealant for extra durability. This step enhances the appearance and longevity of your cabinet.
9. Adding Hardware and Final Touches
To complete your cabinet, install handles or knobs for a polished look. Consider soft-close hinges or modern push-to-open mechanisms for a seamless design. If your cabinet will be in a humid area like a bathroom, choose moisture-resistant hardware. Once all hardware is in place, clean the surface and admire your newly built wall cabinet!
Conclusion
Building a custom wall cabinet is a rewarding DIY project that enhances both storage and aesthetics. With careful planning, quality materials, and precise assembly, you can create a functional cabinet that suits your needs. Whether for your kitchen, bathroom, or workspace, following these steps will ensure a successful build. Happy woodworking!
