Introduction
Yarn wall hangings are a simple yet stunning way to enhance your home decor, and they’re perfect for beginners! Whether you’re new to DIY crafts or looking for an easy project, creating a yarn wall hanging can be a fun and relaxing experience. This creative and budget-friendly project allows you to add a personal touch to any room. From choosing the right yarn to mastering basic techniques, this guide will help you design a beautiful yarn wall hanging that will elevate your space with minimal effort. Let’s get started on this crafty journey!
What You Need to Get Started
Before you begin your DIY yarn wall hanging, gather the essentials. You’ll need yarn in various colors and textures, a dowel or branch for the base, scissors, and a ruler. Consider using yarn types like cotton or wool for a soft, durable result. You might also want to add embellishments such as beads or tassels to personalize your creation. There are even DIY craft kits available for beginners that come with all the necessary materials, making it even easier to get started with this fun project. Let’s dive into the materials you’ll need!
Step-by-Step Guide to Creating Your First Yarn Wall Hanging
Start by cutting your yarn into equal lengths. For a simple design, fold each piece in half and loop it over your dowel or branch using a basic knot, like the lark’s head knot. Keep your yarn tight and even for a neat appearance. Once your yarn is in place, you can experiment with different techniques, such as braiding or twisting for added texture. Keep the design simple—geometric patterns or stripes work well for beginners. After securing the yarn, trim any excess to create a clean, professional finish. It’s time to bring your vision to life!
Design Inspirations for Beginners
When starting your yarn wall hanging, keep the design simple and fun. Geometric patterns like stripes or triangles are easy to create but add a stylish touch. Mixing different yarn textures, such as soft wool and chunky cotton, can make your piece stand out. You could also try a gradient effect by transitioning from one color to another for a unique look. Don’t be afraid to experiment with the placement of the yarn to create a balanced, yet minimalist, design. The key is to keep it simple, especially for your first project!
Mistakes to Avoid
When creating your yarn wall hanging, beginners often make a few common mistakes. One is cutting the yarn unevenly, which can throw off the symmetry of the design. Another mistake is overcomplicating the patterns—keeping it simple will give you better results. Also, avoid rushing through the knotting process; take your time to ensure each knot is tight and secure. Finally, don’t forget to trim any loose or frayed ends for a polished look. With these tips, your first yarn wall hanging will turn out beautifully!
Personalizing Your Yarn Wall Hanging
Make your yarn wall hanging truly your own by adding personal touches. Consider incorporating beads, tassels, or feathers to give it a unique flair. Mixing different yarn textures, like silky and fluffy yarn, can add depth and interest to your piece. If you want a more colorful design, try adding a pop of metallic or neon yarn for contrast. You can also experiment with shapes—hearts, stars, or even abstract forms—to reflect your style. The beauty of DIY projects is the ability to create something that feels personal and meaningful to you.
Advanced Techniques to Explore
Once you’re comfortable with basic yarn wall hangings, you can try more advanced techniques. For example, you can add macrame knots to create intricate patterns or use a variety of yarn types, such as velvet or metallic threads, to give your piece more texture and shine. Try layering different yarns to create a 3D effect or add color gradients for a more dynamic design. Experimenting with different shapes, such as weaving the yarn into diamond or spiral patterns, will take your wall hanging to the next level.
Where to Display Your Yarn Wall Hanging
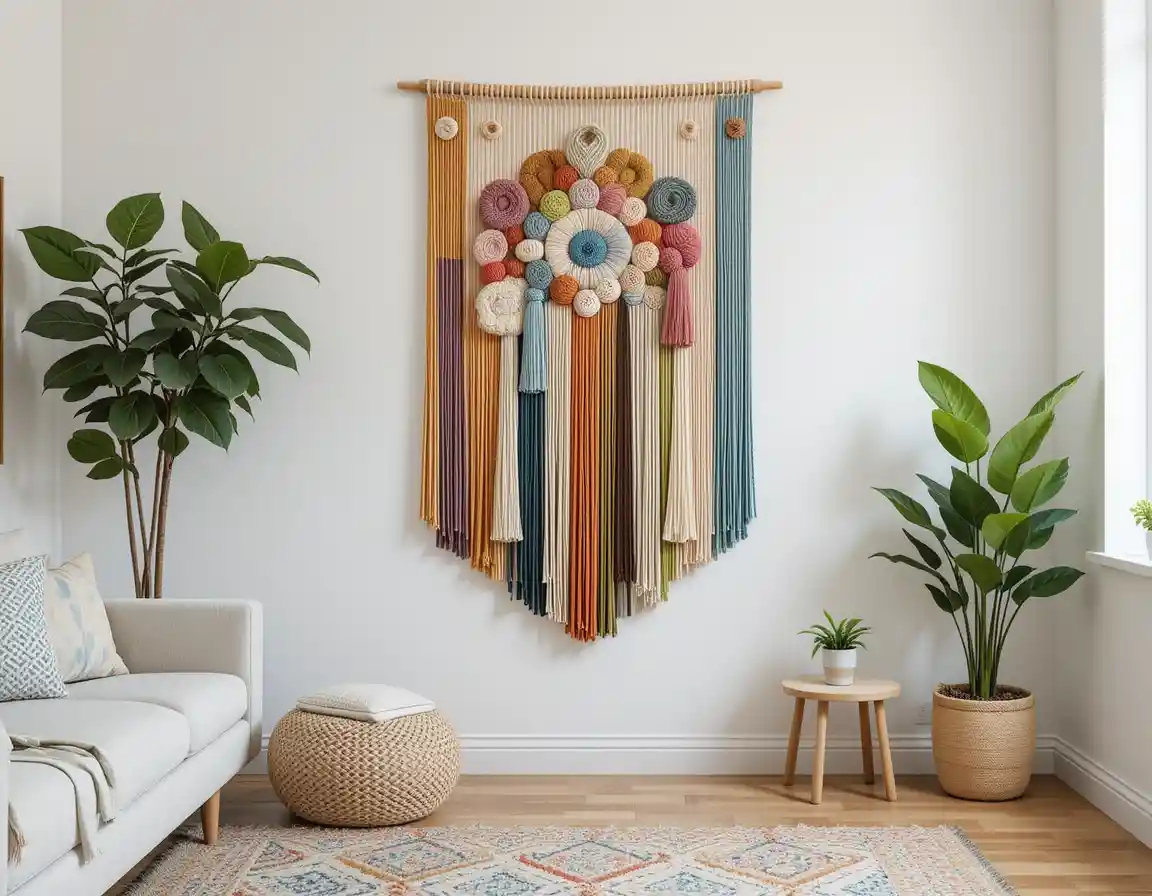
Yarn wall hangings make a bold statement in any room. For smaller spaces, try hanging them above a couch or bed to add visual interest. In larger rooms, display them as a focal point on a tall wall, such as in a living room with high ceilings. You can also hang them in hallways or entryways to greet guests with a creative touch. Don’t forget to consider the surrounding decor—coordinate your wall hanging with other elements like throw pillows or curtains for a cohesive, well-balanced look.
Troubleshooting Common Issues
Even the simplest projects can come with challenges. If your yarn wall hangs starts to look uneven, gently adjust the yarn pieces and re-tie knots as needed. If knots are loosening, make sure they’re tied securely and not too tight. For fraying edges, trim them neatly with sharp scissors. If the hanging isn’t staying straight, ensure the dowel is balanced and securely fixed in place. These small fixes can make a big difference in achieving a polished final look. Don’t be afraid to make adjustments along the way!
Benefits of Crafting Yarn Wall Hangings
Creating your own yarn wall hanging has several benefits. It’s a relaxing, stress-relieving craft that allows you to focus on the process and enjoy the creative journey. Making your own decor is also a rewarding experience, as you get to personalize your space and add unique, handmade pieces to your home. Plus, it’s an affordable way to enhance your interior design. By engaging in DIY projects like this, you can express your personality while developing new skills and having fun along the way. It’s a win-win for both creativity and your home!
Additional Resources and Links
For more inspiration and detailed tutorials, check out craft websites, Pinterest boards, and Instagram pages dedicated to DIY yarn art. These platforms are great for finding creative ideas and learning new techniques. You can also explore online stores that offer high-quality yarn and tools specifically for wall hangings. Joining craft communities or watching video tutorials can help you refine your skills and find new projects to try. These resources will keep you motivated and connected as you continue your yarn crafting journey!
Conclusion
Now that you have the tools and techniques to create your own yarn wall hanging, it’s time to get crafting! Whether you keep it simple or experiment with advanced techniques, the possibilities are endless. This project allows you to add a personal, handmade touch to your home while enjoying the process. Don’t be afraid to experiment, make mistakes, and most importantly, have fun. Your beautiful creation will be a reflection of your creativity. Share your finished pieces and inspire others to try this fun DIY craft! Happy crafting!