Introduction
Exterior walls are exposed to harsh weather, structural shifts, and general wear and tear, making them prone to cracks and damage over time. Repairing exterior walls not only restores your home’s appearance but also prevents further issues like moisture infiltration and structural weakening. Understanding the type of damage and how to address it properly is key to maintaining the integrity of your home. This guide will walk you through a step-by-step process to repair exterior wall cracks, fix moisture damage, and ensure long-term protection, helping you keep your home’s exterior strong and visually appealing.
Types of Exterior Wall Damage
Understanding the type of damage helps you choose the right repair method. Cracks are common and may be caused by settlement, thermal movement, or structural shifts. Moisture damage leads to bubbling paint, mold, and weakened walls. Bubbling and peeling paint usually indicates poor adhesion or trapped moisture. Impact damage from harsh weather or physical contact can weaken the wall’s structure. Identifying the root cause ensures you fix the problem at its source and prevent further damage. Each type of damage requires a specific repair approach to restore your wall’s strength and appearance.
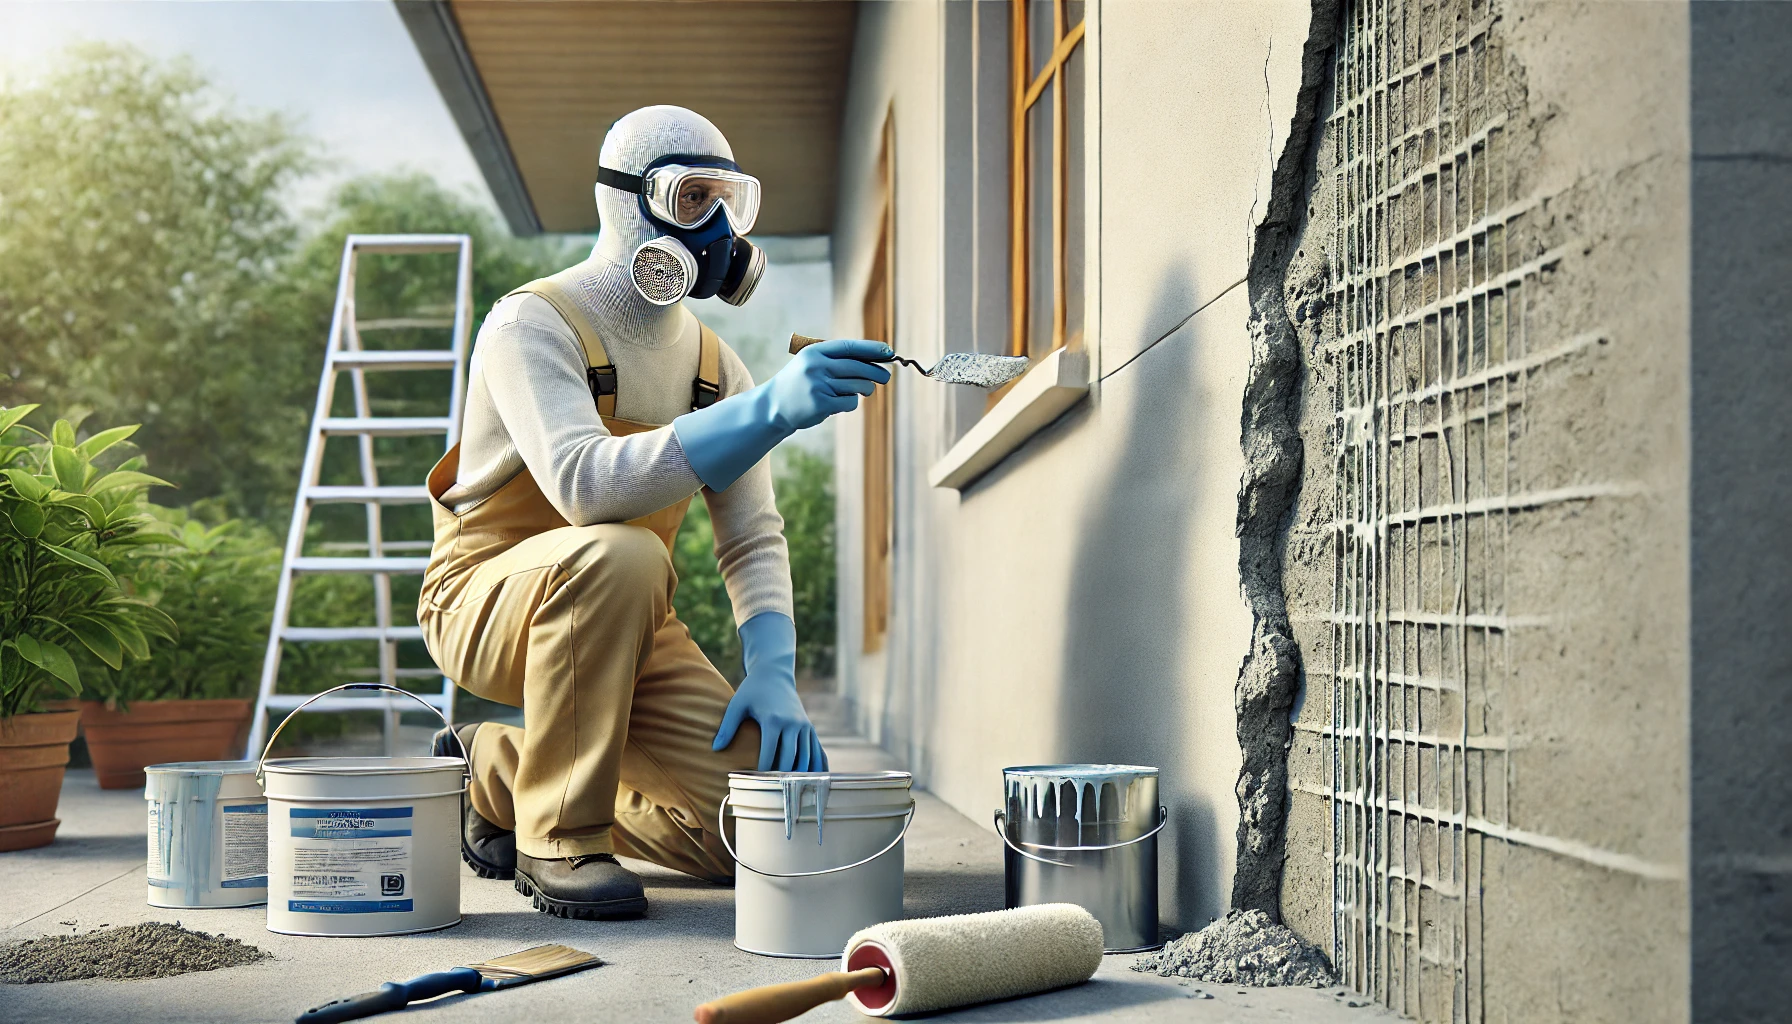
Tools and Materials Needed
Before starting, gather the right tools and materials to make the repair process smooth and effective. You’ll need filler or sealant for cracks, a putty knife for applying filler, and sandpaper to smooth the surface. For moisture issues, use a waterproof primer and mold treatment. A paintbrush and exterior paint will be needed for finishing. Don’t forget safety gear like gloves, goggles, and a dust mask to protect yourself. Having the right materials ensures that the repair is strong, weatherproof, and long-lasting.
Step-by-Step Repair Process
1. Preparation
Clean the wall with a stiff brush to remove dirt and loose material. Let it dry completely.
2. Crack Repair
For small cracks, apply filler with a putty knife, smooth it out, and let it dry. For larger cracks, use a masonry repair compound or mesh for reinforcement.
3. Moisture and Paint Damage
Scrape off peeling paint, treat mold if present, and apply a waterproof primer before repainting.
4. Structural Damage
Use epoxy or mortar to fill deep cracks, and reinforce with mesh if needed. Let it cure fully before finishing.
Finishing and Painting
Once the repair is dry, sand the surface until smooth. Apply a waterproof primer to protect against moisture and improve paint adhesion. Choose a high-quality exterior paint suited for your wall material. Use a brush or roller to apply paint evenly, starting from the top and working down. Apply a second coat if needed for even coverage. For color consistency, blend new paint with the surrounding area. A protective topcoat can add extra durability and weather resistance, helping your exterior wall stay strong and look fresh for years.
Preventative Maintenance
Regular maintenance helps prevent future damage. Inspect exterior walls seasonally for new cracks, peeling paint, or moisture stains. Clean walls with a mild detergent and water to remove dirt and debris. Apply a waterproof sealant every few years to protect against moisture and weather damage. Ensure proper drainage around the foundation to prevent water from pooling against walls. Fix small cracks and paint damage immediately to stop them from worsening. A consistent maintenance routine keeps your exterior walls strong and reduces the need for major repairs over time.
Safety and Compliance
Safety is essential when repairing exterior walls. Wear gloves, goggles, and a dust mask to protect yourself from dust and chemicals. Use a stable ladder if working at heights and avoid working on wet or windy days. Follow the manufacturer’s instructions for any repair products used. If dealing with structural damage, consult a professional to ensure proper repair and safety. Check local building codes to make sure your repair work meets safety standards. Taking these precautions helps prevent accidents and ensures a long-lasting, secure repair.
Troubleshooting Guide
1. Cracks Reopening
If cracks reopen, check for underlying structural issues and use a stronger filler or mesh reinforcement.
2. Peeling Paint
If paint peels, the surface may not have been clean or dry. Remove loose paint, prime the area, and repaint.
3. Moisture Issues
Persistent moisture could mean poor drainage or water infiltration. Fix leaks and ensure proper drainage away from the wall.
4. Uneven Finish
If the finish looks uneven, sand and repaint the surface for a smoother appearance.
Conclusion
Repairing exterior walls may seem challenging, but with the right tools and approach, you can restore your home’s exterior effectively. Understanding the type of damage, using proper materials, and following a step-by-step process ensures a durable and professional-looking finish. Regular maintenance and quick repairs help prevent long-term damage, saving you time and money. Don’t hesitate to consult a professional for structural issues or complex repairs. By taking care of your exterior walls, you’ll keep your home strong, weatherproof, and visually appealing for years to come.